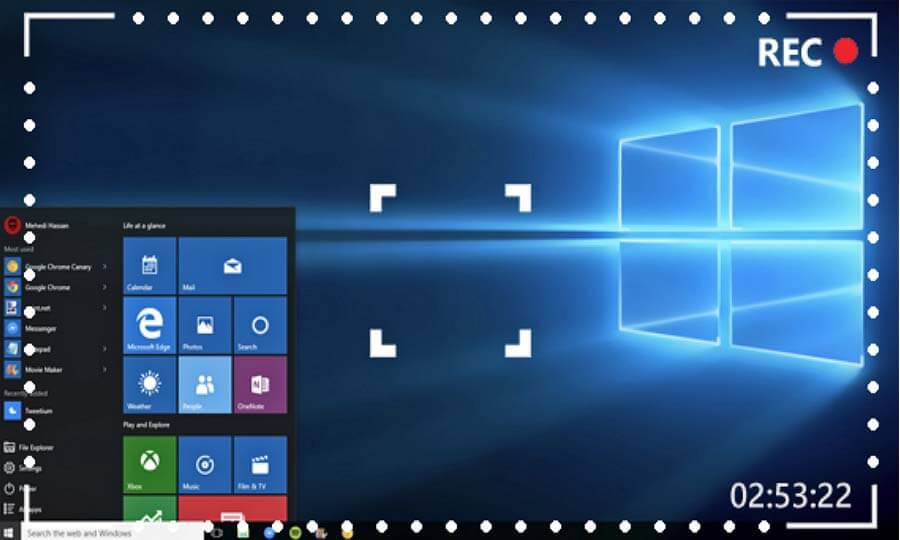
When there are numerous screen recorders available for users to capture desktop screens, it may be hard to select the “best” one out of them. But still, VideoSolo Screen Recorder, a high-ranking screen capturing software for Windows/Mac, has been tested and verified as an ideal option to deliver easy-to-grasp and high-quality recording functionality. This review will mainly focus on its features and the details on how to record screens with it. Now, follow me and grasp a look.
VideoSolo Screen Recorder: Overview
VideoSolo Screen Recorder is well-compatible with Windows and Mac desktops, enabling users to record all activities on screens without hassle. No matter the high-resolution gameplay moments, online conferences, lessons, webinars, or streaming movies and TV shows on all platforms, VideoSolo Screen Recorder is able to capture with original quality.
With the mainstream formats provided, users are available to preserve the recordings for streaming on all devices. All in all, the software is able to fulfill all your needs and deliver the best recording functionality to save important moments on your computers.

Preview whether your devices are compatible with installing VideoSolo Screen Recorder before getting started with it:
| Windows | Mac | |
| Supported OS | Windows 10/8/7/Vista/XP (SP2 or later) | Mac OS X 10.7 or above (macOS Mojave) |
| Processor | 1GHz Intel/AMD CPU or above | 1GHz Intel CPU or above |
| RAM | 1G RAM or more | 512 MB or more |
Out-performing Features of VideoSolo Screen Recorder
A nice screen recorder will certainly contain the features that make its recording function stand out. For VideoSolo Screen Recorder, the following advantages should be the reasons driving so many users to choose it.
Flexible Recording Modes
To fulfill the recording demands under different situations, VideoSolo Screen Recorder is equipped with multiple recording modes, including the video recorder, audio recorder, gameplay recorder, phone recorder, webcam capturing mode, and snapshot taking to capture the screens without hassle. Users are free to select the mode they need to record desktop screens within one click.
Customized Settings and Parameters
VideoSolo Screen Recorder offers flexible settings to customize the video and audio recording with the adjusted areas and even locked window and volume as user needs. Additionally, the software also enables users to freely change the parameters of both the video as well as audio recordings for preserving the format, quality, and codec as they desire, which brings personalized recording playback offline.
Convenient In-app Recording Controls
With an intuitive design, users are able to follow the very simple instructions to complete the screen recording on desktops via VideoSolo Screen Recorder. To boost higher efficiency, the software also enables users to preset the hotkeys based on personal usage habits, so that the recording process is available to be started and ended more easily.
Instant Drawing Panel to Take Notes
While processing the video recording, VideoSolo Screen Recorder also provides an instant drawing panel, allowing users to add annotations or notes on the recording. In addition, users are allowed to take snapshots even if the recording is recording, too.
More Advanced Features to Record Screens
Despite the basic recording features, VideoSolo Screen Recorder also comes with more advanced features to make the recording process more efficient. For example, the time scheduler is provided to process the recording automatically; noise cancellation and audio enhancement features are available to record audio with better quality; the trimming function is offered to cut the unnecessary parts from the recordings to save space, etc.
VideoSolo Screen Recorder User Manual
Now, take one more minute to grasp how VideoSolo Screen Recorder works to record your screen with audio and webcam.
STEP 1. Open VideoSolo Screen Recorder. Then you are able to select “Video Recorder” or other recording modes to get started.
STEP 2. In “Video Recorder”, you are available to adjust the recording area and turn on the “System Sound” as well as “Microphone” to adjust the volumes. If you need it, the webcam is also able to be turned on as well.
(Optional) STEP 3. Click the gear icon provided above the microphone box, you are able to enter “Preferences”. Navigate to “Output”, and here you are allowed to customize the format, codec, and quality for recording the screen.
STEP 4. Now, process the screen recording by using hotkeys or pressing the “REC” button. You are able to control the recording or drawing on it using the floating panel.
STEP 5. When the recording is over, hit the stop icon and VideoSolo Screen Recorder will turn you to the preview window. Just click “Save” and the recording will be saved on your desktop.
NOTE: You should note that the free trial of VideoSolo Screen Recorder only allows users to record the screen for up to 3 minutes. To unlock this limitation, you are required to subscribe to the registered version on VideoSolo online store.
With flexible modes and high-quality recording outputs, VideoSolo Screen Recorder is absolutely the best choice if you are seeking a reliable recorder for your Windows/Mac desktops. You will be impressed by its convenient recording functionality. Now, get started with VideoSolo Screen Recorder for free!
Follow Techdee for more!
