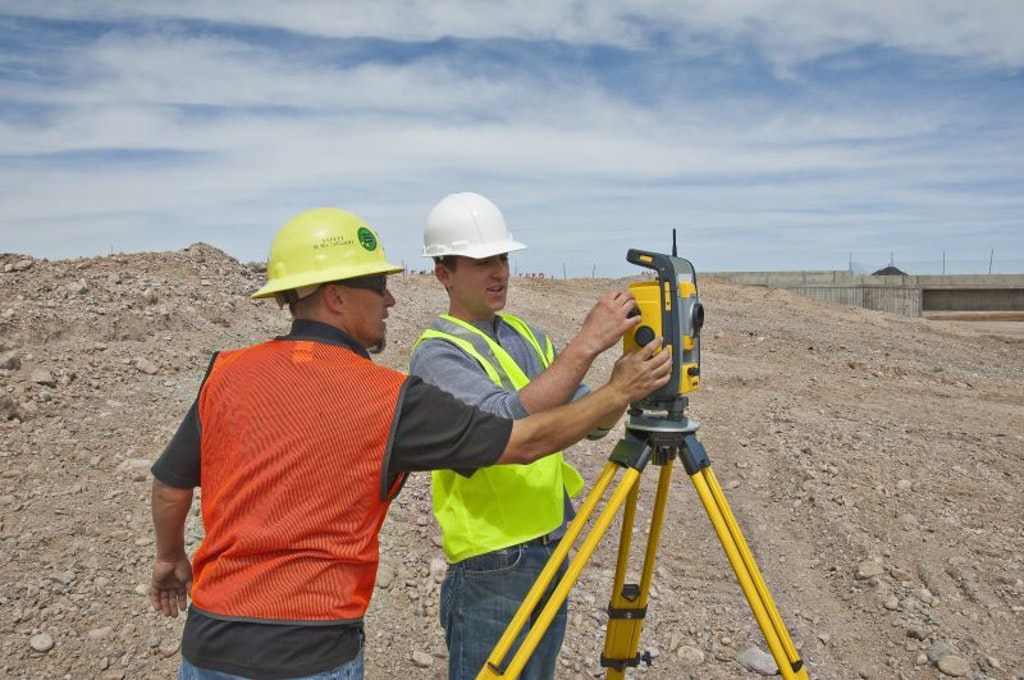
When the new piece of surveying equipment shows up, the excitement on-site is usually quite palpable. This is due to the great quality and craftsmanship of these materials and the ability to continue forward with completing the project.
However, things are not always rosy when new surveying equipment arrives. Like all new gadgets and tech, there can be a learning curve to set it up properly. Nobody wants to be responsible for accidentally breaking the new item, so it is best to consult two key documents.
The first document is the manufacturer’s literature. This may include an instruction manual, warranty pamphlet, digital manual link, promotional material, and product specifications. Reading through these documents is beneficial for many reasons, including understanding the proper setup process for your surveying equipment.
The second document for your consultation is right here. Let’s look at the common steps required to set up surveying equipment.
1. Gather Your Supplies
The first step is gathering your supplies at the worksite. This includes:
- Tripod
- Total station
- Manual leveling controls (tribrach)
- Power/ communication cables
- Survey marker
2. Decide Your Setup Location
After gathering your equipment, the next step is to decide your setup location. You will want to mark it with your survey marker and ensure it has a good plane of visibility, free from obstructions like trees and buildings.
3. Deploy Your Tripod
Once your location is decided and you have set up your survey marker, it is time to deploy your tripod. Ensure each leg is set to an equal distance from the center, and that it is a sturdy deployment. Take precautions to secure the mounting platform using stakes driven into the ground or other methods.
4. Adjust Manual Levelling Controls
Using the tribarch, ensure that the mounting surface is level. After all, level instruments are key to the success of surveying equipment. Use the level-bubble to ensure accuracy, and attach the tribarch to the tripod with the connecting screw.
5. Affix the Total Station
Finally, the time has come for the total station to come into play. Simply remove the surveying equipment from its carrying case and secure it on top of the tripod-mounted tribrach.
6. Connect Power Supply & Turn Device On
If your device comes with a battery pack, now is the right time to connect it to the surveying equipment. Then, connect any power cables and data transfer devices and get to work on your surveying project.
7. Fine Levelling & Final Adjustments
Before beginning your survey, it is important to ensure the device is correctly calibrated for measurement. This can involve minute adjustments that are prompted by the software of the device, or through preliminary measurements. Ensuring this level of accuracy is adequate is an important final step in the process.
And there you have it, the complete process of setting up your surveying equipment. Again, it is important to remember that every device manufacturer will have certain quirks and differences from the others, so ensure you always follow the manufacturer’s recommendations and instructions.
Follow Techdee for more informative articles.
