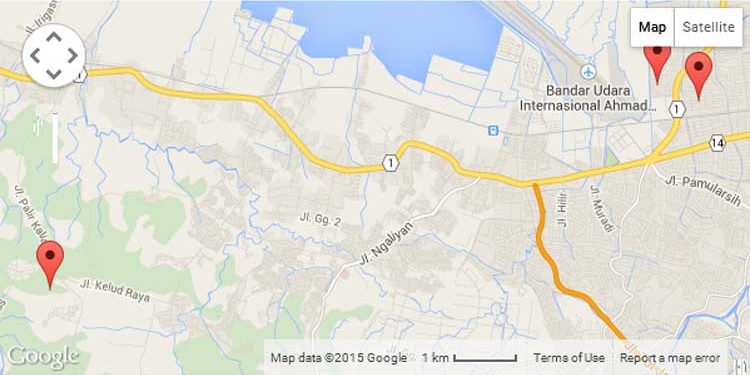
When looking for a place, searching for a specific street, or trying to locate available services nearby, the first thing most people do is reach for their smartphone.
Google Maps is one of the most popular Google applications. This is because it features a straightforward interface, user-friendly application features, and clear, accurate directions. For this reason, it is the preferred navigation app for many people.
A core capability of Google Maps is its ability to plot multiple locations through pins. These SEO Agency can mark a location with or without an address. Additionally, people can get directions on how to get from pin A to pin A.
This feature is also helpful for business owners, as using multiple pins helps customers locate company addresses.
How to Plot Many Locations on Google Maps
1.Use Saved Places
One way to plot multiple locations is by adding addresses to ‘Saved Places.’ This folder contains lists of places you’ve saved previously. Saved Places can be found in the Main Menu of Google Maps.
After signing into your Google account, click on the ‘hamburger’ icon. (This is an icon of three short lines). Next, click on the ‘Your Places’ panel, then choose ‘Saved.’
The Saved menu will show you pre-defined saved places such as ‘Favorites,’ ‘Starred Places,’ ‘Labelled,’ and ‘Want to go.’ Select one of these lists, and you will be shown a map with a pin on the saved location.
To put another location in a Saved Places list, you first have to locate the place you want by searching for it on Google Maps. Once you’ve found it, click the red pin or the location marker, and then hit the ‘Save’ button. You will then get options to either save the place under a default list or a custom list of your choice. If you want to create a new custom list, click the ‘New list’ button.
2.Use Google Maps Creator
Another way to plot locations on a map is by creating multiple maps. To start, expand the main menu and navigate to ‘Your Places.’ You will see a display of four columns that are labeled as ‘Labeled,’ ‘Saved,’ ‘Visited,’ and ‘Maps.’
The ‘Labeled’ column is for locations where you’ve given part of your personal information, such as a home or office address or other places you’ve labeled. The ‘Saved’ column contains places that you intend to visit have visited, or are saving for reference. The ‘Visited’ column is for places you’ve previously visited. And the ‘Maps’ column lists all the maps you’ve created.
When you want to create a map, you need to go to the Maps column and click on the ‘Create Map’ link at the bottom of the panel. This will launch Google My Maps in a new tab. You can then create a custom map by drawing lines, adding markers and directions, and customizing layers and the base map. To add multiple locations on every layer, you can either draw or import data.
3.Add Multiple Markers
Google My Maps lets you customize maps and add different elements, including location markers. To place a marker on your custom map, click the pinpoint icon under the search bar. You can then place the marker manually or find a location using the search field.
If you manually place the marker, you will have to name the location and provide a short description before adding it to the map. However, if you add a location through the search function, this information will be added automatically.
There are two ways to add multiple locations through the search field. You can either search for location coordinates or search by name. Therefore, if you have the GPS coordinates of a specific address, you can just paste this information into the search bar. Google will automatically place a marker at the address.
If you want to search for a location by name, city, or street landmark, type this information into the search bar, and Google will offer a list of suggested results. Choose the appropriate result and then add the location to the map by clicking on the ‘Add to Map’ option.
Follow Techdee for more!


